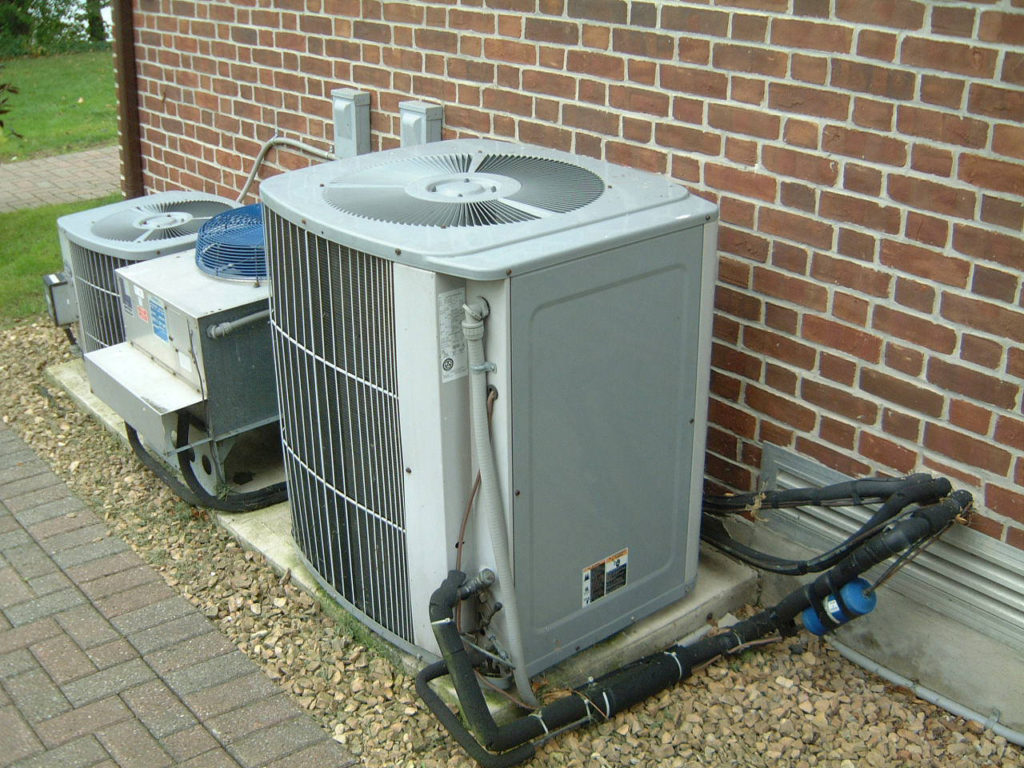
How to Replace a Blower Motor on a Home Air Conditioning Unit
amy.trotter September 23, 2016Air conditioning (AC) units use fans powered by a blower motor to maintain a steady airflow to reduce condensation and regulate the exterior temperature of the refrigerant coils. In order to chill the air that will be sent into the ventilation system, the coils must be extremely cold while cooling the air.
If the blower motor stops working, then condensation will build up on the outside of the coils. The water then freezes and causes the AC unit to stop working. Some HVAC coils may have coatings that help reduce damage to the system if a blower motor stops; however, preventing condensation build up with proper airflow is essential to the longevity of an AC unit.
Dangers of Disconnecting the Line
To replace the blower motor, it is critical to verify that all sources of power can be turned off. Some models may have a live 220-volt line connected to the condenser. Depending on the installation setup, it is possible that a homeowner will not have the ability to disconnect the live 220 line. In that event, a contractor will need to be contacted for the work.
Assuming the electrical power can be safety controlled, turn off the power to the AC unit at the service disconnect box. Follow and label any wires during the process of disconnecting to aid in the reconnection after replacement.
Review the Unit’s Manufacturer Manual
If an owner’s manual is available online or as a hard copy, review any diagrams or troubleshooting sections. Using a nut driver, open the access panel on the unit. Save any screws in a container that denotes where the screws belong.
There will be a second cover to unscrew to find a control panel. Again, keep screws and covers labeled by section. Find the wires connecting the blower motor to the control panel. Usually, there are two wires connected to the capacitor on the housing of the blower and other wires connect to the control panel. Label the wires before cutting any connections. It is helpful to take photos to help remember how items and wires were placed.
Remove the Blower Motor
Using wire cutters, cut wires from the blower that attach to the control panel. Leave those wires connected to the control panel. Look for any retaining bolts holding the blower in place and remove those bolts. Again, keep the bolts in a safe place and take a picture before removing any bolts to remember how the blower was positioned.
Once the bolts are removed, the blower motor and housing should slide out along the mounting brackets. At this point, remove the wires to the capacitor; there should be electrical terminals for easy removal.
Getting the Power Back On
The blades attached to the motor will be encased in what looks like a cage. Find the access point or screws to remove to open the cage. Carefully remove the motor and replace it with the new motor. Reverse the steps to reinstall the blower unit. Turn on the power and check to see if the AC unit works.
Take precautionary measures when following these steps to ensure that the repair does not cause personal harm or injury. Furthermore, if you are not confident in your ability to properly assess the HVAC system and make any necessary repairs, then consult with a professional technician.
Author Bio:
Albert Krav is a HVAC specialist and a freelance writer from Los Angeles, California. Combining his expertise in HVAC systems with his excellent customer service approach, he has helped countless clients repair and maintain their air conditioning and heating systems over the past 15 years. During his free time, he enjoys writing DIY articles on how to repair HVAC systems .


